Introduction to Portrait Mode Effect
Have you ever noticed how smartphone cameras create a beautiful background blur while keeping the main subject in focus? This effect, known as “portrait mode,” mimics the professional look of DSLR cameras. In this guide, we’ll show you how to achieve this effect using open-source tools like SAM2 from Meta and MiDaS from Intel ISL.
Tools and Frameworks
- Segment Anything Model (SAM2): Helps separate the subject from the background.
- Depth Estimation Model: Creates a depth map for background blurring.
- Gaussian Blur: Applies varying blur to the background based on depth.
Step 1: Setting Up the Environment
Start by installing necessary packages:
pip install matplotlib samv2 pytest opencv-python timm pillow
Step 2: Loading a Target Image
Select an image and load it into Python using the Pillow library:
from PIL import Image

import numpy as np

import matplotlib.pyplot as plt
image_path = "<path to your image>.jpg"
img = Image.open(image_path)
img_array = np.array(img)
plt.imshow(img)
plt.axis("off")
plt.show()
Step 3: Initialize the SAM2
To use SAM2, download the pretrained model. For faster results, we will use the tiny variant:
from sam2.build_sam import build_sam2

from sam2.sam2_image_predictor import SAM2ImagePredictor

from sam2.utils.misc import variant_to_config_mapping

from sam2.utils.visualization import show_masks
model = build_sam2(variant_to_config_mapping["tiny"], "sam2_hiera_tiny.pt")
image_predictor = SAM2ImagePredictor(model)
Step 4: Isolate the Subject
Feed the image to SAM2 and select points on the subject to create a mask:
image_predictor.set_image(img_array)

input_point = np.array([[2500, 1200], [2500, 1500], [2500, 2000]])

input_label = np.array([1, 1, 1])

masks, scores, logits = image_predictor.predict(point_coords=input_point, point_labels=input_label, box=None, multimask_output=True)

output_mask = show_masks(img_array, masks, scores)

sorted_ind = np.argsort(scores)[::-1]
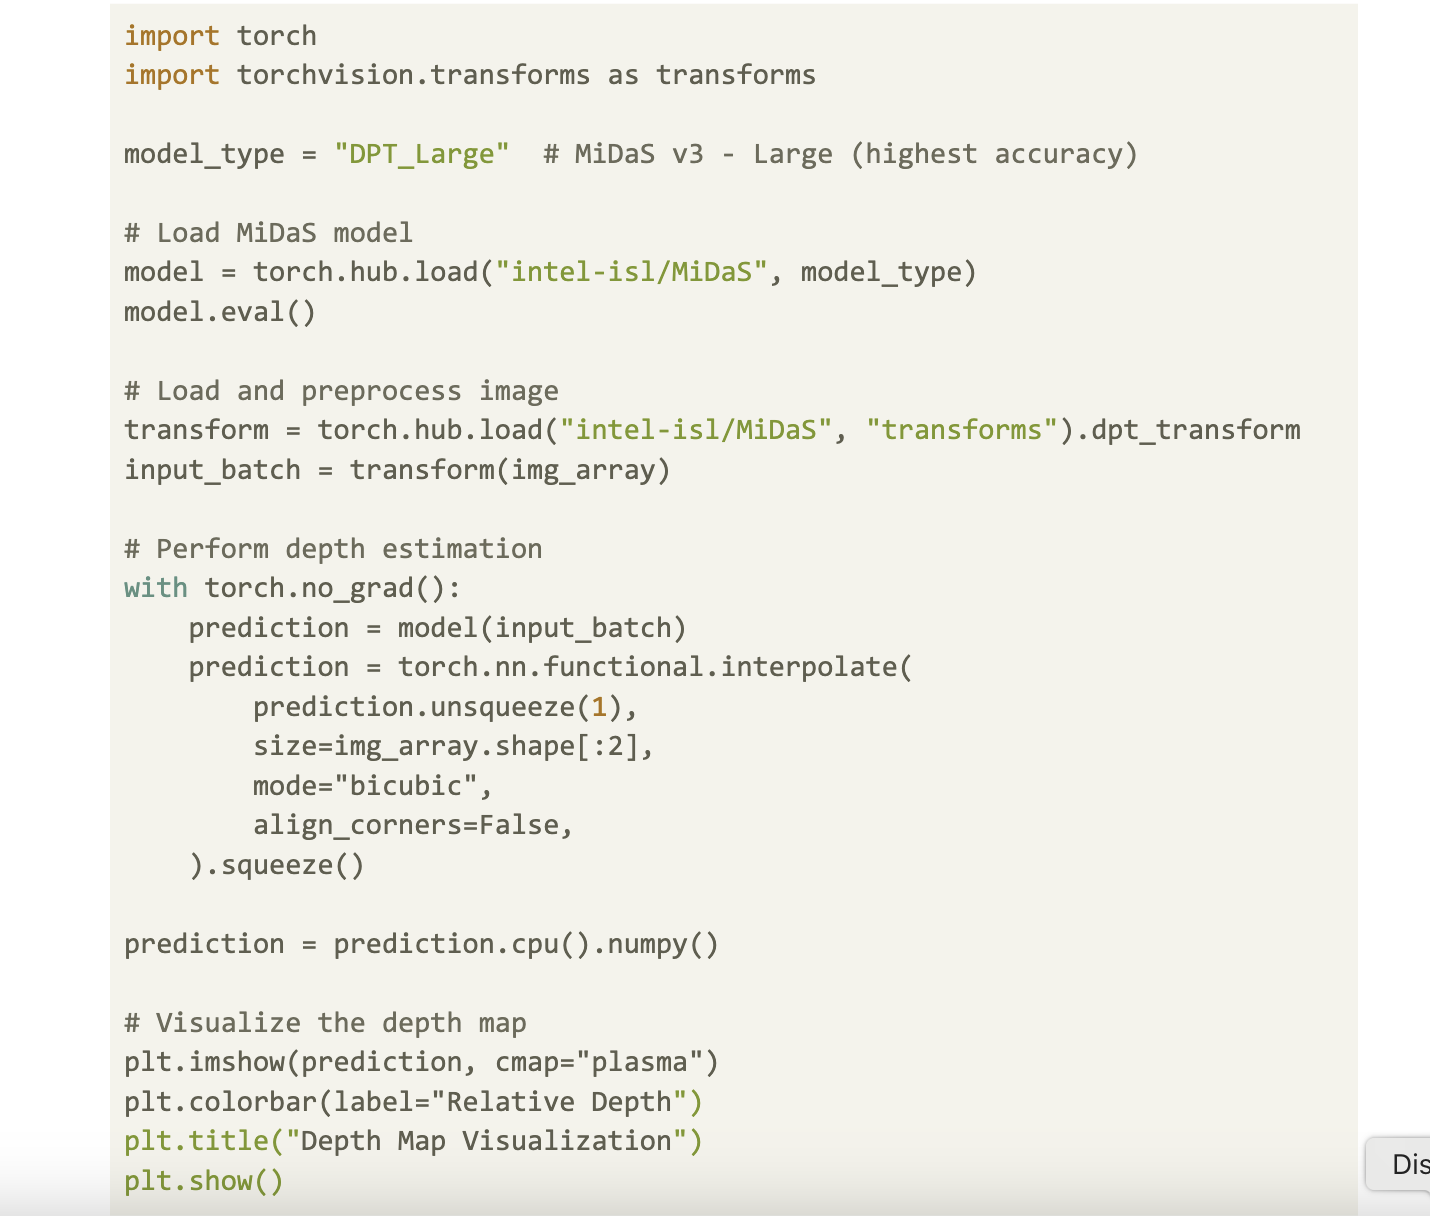
Step 5: Initialize Depth Estimation Model
Use Intel’s MiDaS model for depth estimation:
import torch

import torchvision.transforms as transforms
model_type = "DPT_Large"
model = torch.hub.load("intel-isl/MiDaS", model_type)
model.eval()
transform = torch.hub.load("intel-isl/MiDaS", "transforms").dpt_transform
input_batch = transform(img_array)
with torch.no_grad():
prediction = model(input_batch)
prediction = torch.nn.functional.interpolate(prediction.unsqueeze(1), size=img_array.shape[:2], mode="bicubic", align_corners=False).squeeze()
prediction = prediction.cpu().numpy()
Step 6: Apply Depth-Based Gaussian Blur
Use an iterative approach for blurring based on depth:
import cv2
def apply_depth_based_blur_iterative(image, depth_map, base_kernel_size=7, max_repeats=10):
# Invert depth map and normalize
# Apply Gaussian blur iteratively
return blurred_image
blurred_image = apply_depth_based_blur_iterative(img_array, prediction, base_kernel_size=35, max_repeats=20)
Step 7: Combine Foreground and Background
Merge the sharp foreground with the blurred background:
def combine_foreground_background(foreground, background, mask):

    return np.where(mask, foreground, background)

mask = masks[sorted_ind[0]].astype(np.uint8)

mask = cv2.resize(mask, (img_array.shape[1], img_array.shape[0]))

combined_image = combine_foreground_background(img_array, blurred_image, mask)
Conclusion
We successfully created a portrait mode effect using simple tools. This method can enhance photo editing apps and creative projects.
Future Enhancements
- Use edge detection for better subject outlines.
- Experiment with different kernel sizes for blurring.
- Create a user interface for dynamic image uploads and subject selection.
Resources
Transform Your Business with AI
Embrace AI to enhance your company’s competitiveness. Here’s how:
- Identify Automation Opportunities: Find customer interaction points where AI can help.
- Define KPIs: Ensure your AI strategies lead to measurable business outcomes.
- Select an AI Solution: Choose tools that fit your needs and allow customization.
- Implement Gradually: Start with a pilot program, collect data, and expand wisely.
For AI KPI management advice, contact us at hello@itinai.com. Stay updated on AI insights via Telegram or follow us on Twitter.
Discover how AI can revolutionize your sales and customer engagement at itinai.com.