Converting a FastAPI App into an MCP Server: A Step-by-Step Guide
Introduction
FastAPI-MCP is a user-friendly tool that allows FastAPI applications to expose their endpoints as Model Context Protocol (MCP) tools effortlessly. This guide will demonstrate how to convert a FastAPI application that retrieves alerts from the U.S. National Parks Service API into an MCP-compatible server.
1. Setting Up the Environment
1.1 National Park Service API
To utilize the National Park Service API, you must first request an API key. Visit the API’s website and complete a short form to receive your key via email. Keep this key handy, as it will be essential for the application.
1.2 Cursor IDE Installation
Download the Cursor IDE, a tool designed for AI-assisted development, from its official website. It is free to use and includes a 14-day trial period.
1.3 Python Dependencies
Install the necessary Python libraries by running the following command:
pip install fastapi uvicorn httpx python-dotenv pydantic fastapi-mcp mcp-proxy2. Creating the FastAPI Application
Next, we will create a basic FastAPI application to fetch alerts related to U.S. National Parks. This application will later be converted into an MCP server.
2.1 Setting Up the Environment Variables
Create a .env file and store your API key as follows:
NPS_API_KEY=your_api_key_here2.2 Core Application Logic
Create a new Python file and include the following code to establish the core logic of your application:
from fastapi import FastAPI, HTTPException, Query
from typing import List, Optional
import httpx
import os
from dotenv import load_dotenv
from fastapi_mcp import FastApiMCP

load_dotenv()
app = FastAPI(title="National Park Alerts API")
NPS_API_KEY = os.getenv("NPS_API_KEY")

if not NPS_API_KEY:
    raise ValueError("NPS_API_KEY environment variable is not set")

@app.get("/alerts")
async def get_alerts(
    parkCode: Optional[str] = Query(None, description="Park code (e.g., 'yell' for Yellowstone)"),
    stateCode: Optional[str] = Query(None, description="State code (e.g., 'wy' for Wyoming)"),
    q: Optional[str] = Query(None, description="Search term")
):
    url = "https://api.nps.gov/api/v1/alerts"
    params = {"api_key": NPS_API_KEY}

    if parkCode:
        params["parkCode"] = parkCode
    if stateCode:
        params["stateCode"] = stateCode
    if q:
        params["q"] = q

    try:
        async with httpx.AsyncClient() as client:
            response = await client.get(url, params=params)
            response.raise_for_status()
            return response.json()
    except httpx.HTTPStatusError as e:
        raise HTTPException(status_code=e.response.status_code, detail=f"NPS API error: {e}")
    except Exception as e:
        raise HTTPException(status_code=500, detail=f"Internal server error: {str(e)}")

if __name__ == "__main__":
    import uvicorn
    uvicorn.run(app, host="0.0.0.0", port=8000)
3. Testing the FastAPI Application
To test your application, run the following command in the terminal:
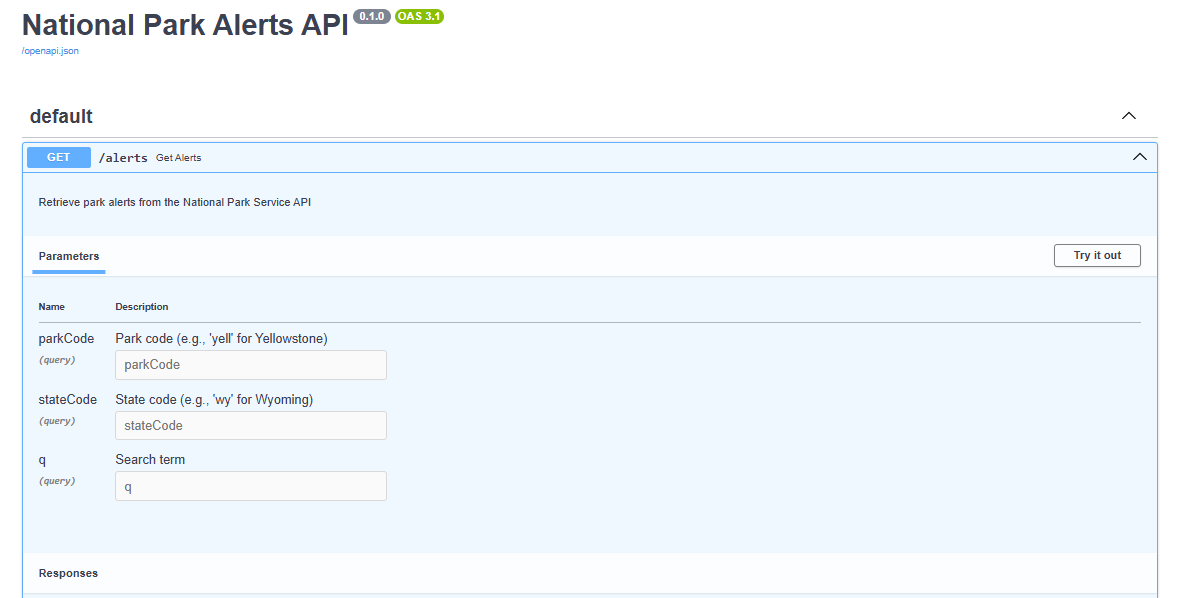
python your_file_name.pyOnce the server is running, navigate to http://localhost:8000/docs in your browser. Use the “Try it out” button to test the API endpoint by entering a park code (e.g., ‘yell’ for Yellowstone) and clicking “Execute.” You should receive a 200 OK response with alert information in JSON format.
4. Implementing the MCP Server
To convert the FastAPI application into an MCP server, add the following code before the if __name__ == “__main__” block:
mcp = FastApiMCP(
    app,
    name="National Park Alerts API",
    description="API for retrieving alerts from National Parks",
    base_url="http://localhost:8000",
)
5. Registering the MCP Server in Cursor
Open Cursor and navigate to:
- File > Preferences > Cursor Settings > MCP > Add a new global MCP server
In the configuration file, add the following entry and save it:
"mcpServers": {
    "National Park Service": {
        "command": "mcp-proxy",
        "args": []
    }
}
6. Running the Server
Run the application again with:
python your_file_name.pyAfter starting the application, go back to File > Preferences > Cursor Settings > MCP to verify that your new server is listed and running. You can now test the server by entering prompts in the chat, which will utilize the MCP server to fetch and return results.
Conclusion
This guide has provided a straightforward approach to converting a FastAPI application into an MCP server using FastAPI-MCP. By integrating AI and automation into your processes, you can enhance efficiency and improve customer interactions. Start small, gather data, and expand your AI initiatives to maximize their impact on your business.


